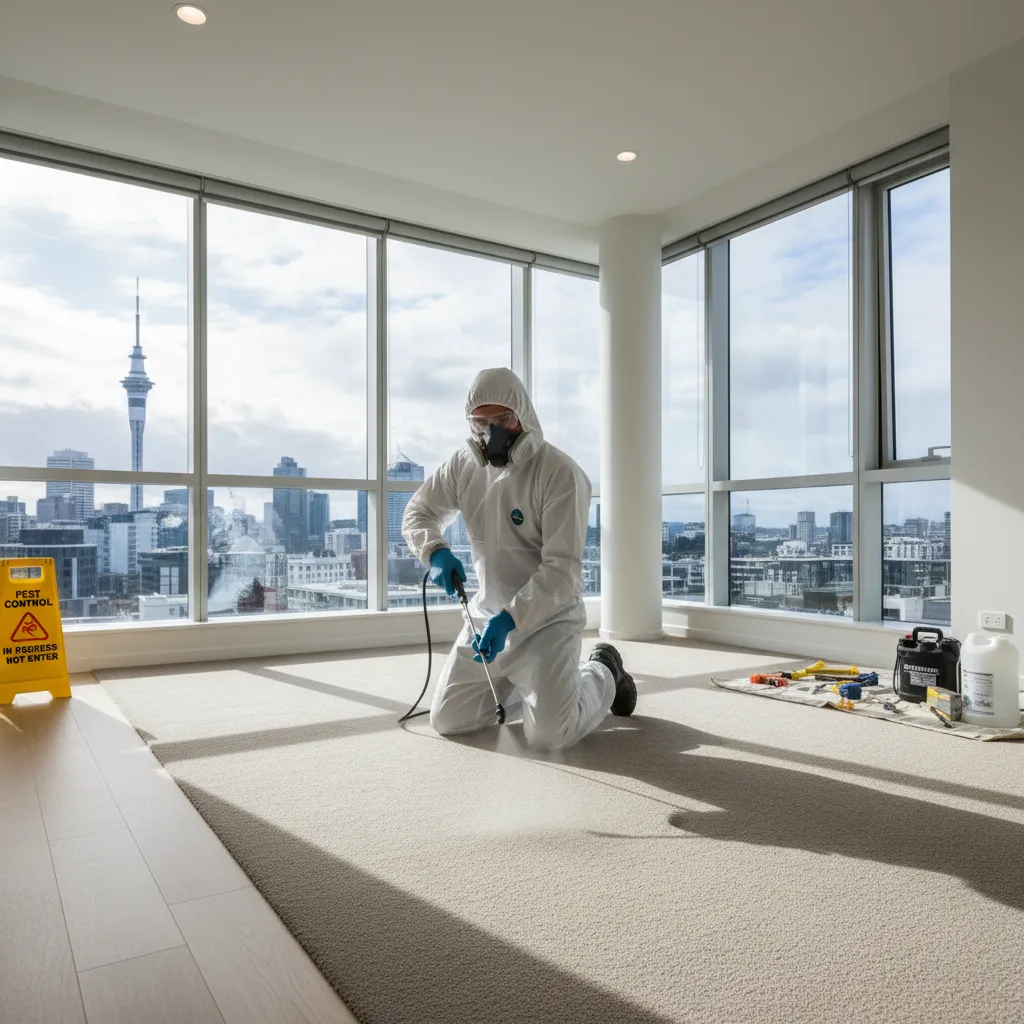
Moving out of an Auckland rental property is stressful enough without the added anxiety of losing your hard-earned bond. If you have kept a cat or dog during your tenancy, your property manager will almost certainly require a professional pest control service before handing over your deposit.
Property managers are strict about this rule because pests can easily lay dormant in carpets and floorboards. A new tenant moving in could suddenly face a massive infestation weeks later. That is why learning exactly how to prepare your rental property for an end of lease flea treatment is an absolute necessity.
Proper preparation ensures the chemical treatment penetrates deep into the carpet fibers where the insects hide. It also guarantees your landlord signs off on your final inspection without a fuss. We make pest control simple, so let us walk through exactly what you need to do to secure your bond.
Key Takeaways
To prepare for an end of lease flea treatment, you must clear all floor spaces, hot wash pet bedding, and thoroughly vacuum every room. Treat your pets with vet-approved medication on the same day. Always hire a certified professional to obtain the compliance certificate required for your bond.
Why End of Lease Flea Treatments Are Mandatory in NZ
If you are renting in New Zealand and have pets, your tenancy agreement likely includes a specific pest control clause. Landlords and property managers require the home to be returned in a clean, pest-free condition. This is heavily enforced across Auckland residential properties.
Even if your dog or cat has never visibly scratched, microscopic eggs can easily fall off their coats and settle into the carpet. These eggs can remain dormant for weeks or even months. When a new family moves in, the vibrations from their footsteps trigger the eggs to hatch.
The New Zealand Tenancy Tribunal frequently deals with disputes over withheld bonds due to pest issues. If you leave behind an infestation, the tribunal will almost always side with the landlord. They recognize that pets are the primary carriers of these insects.
To prevent this, property managers will not just take your word for it. They require a physical compliance certificate from a qualified Urban Pest Management technician. Without this paperwork, they can legally withhold a portion of your bond to hire their own exterminator.

Understanding the Flea Life Cycle (Why a Quick Bomb Doesn’t Work)
To truly understand how to prepare your rental property for an end of lease flea treatment, you need to know what we are actually fighting. Most people only notice the biting adults, but they are just the tip of the iceberg.
In fact, adult fleas make up only 5% of a total infestation. The other 95% is hidden deep within your floorboards, carpets, and skirting boards. This invisible population is exactly why cheap supermarket bug bombs fail to solve the problem.
The 4 Stages of the Flea
A professional treatment targets the insect at multiple points in its life cycle. Here is what is hiding in your home:
- Eggs (50%): A single female can lay up to 50 eggs a day. They are not sticky and fall off your pet like salt grains onto the floor.
- Larvae (35%): These tiny, worm-like creatures hatch and burrow deep into dark places, feeding on organic debris.
- Pupae / Cocoons (10%): The larvae spin a sticky, waterproof cocoon. They can stay dormant inside this protective shell for up to a year.
- Adults (5%): The biting insects that jump onto your pets and ankles to feed on blood.
No insecticide on the market can penetrate the tough pupal cocoon. This is why proper preparation (like vacuuming) is mandatory to force them to hatch before we spray.
Step-by-Step Guide: How to Prepare Your Rental Property for an End of Lease Flea Treatment
Getting the property ready is a team effort between you and your pest control technician. If you skip these steps, the treatment will not be fully effective, and you may require a costly second visit.
Follow this checklist carefully to ensure your home is perfectly prepped for eradication.
Step 1: Treat Your Pets First
Your pets are the primary hosts. Before treating the house, you must treat the source. Visit your local Auckland vet and purchase a high-quality, topical flea treatment or chewable tablet.
Do this on the exact same day the house is being sprayed. If you treat the house but bring an untreated dog back inside, the cycle will simply start all over again.
Step 2: Clear the Floors and Under Furniture
Because you are moving out, this step might be easier if the house is already empty. If you still have furniture inside, you need to clear as much floor space as possible.
Pick up all clothes, toys, shoes, and boxes from the floor. Strip the floors of any loose rugs. We need to spray the entire surface area of the carpets, especially the dark corners and skirting boards where larvae hide.
Step 3: Hot Wash All Bedding and Linens
Gather all of your pet’s bedding, soft toys, and any blankets they sleep on. Wash these items in the washing machine on the hottest temperature setting possible.
The extreme heat will instantly kill any eggs or larvae hiding in the fabric. If a pet bed is too old or heavily soiled, it is often safer to simply throw it in the rubbish bin and buy a new one for your next home.
Step 4: The Ultimate Vacuuming Session
This is the most critical step in how to prepare your rental property for an end of lease flea treatment. You must thoroughly vacuum every square inch of the carpet, rugs, and hard floors.
Vacuuming does two things. First, it physically sucks up loose eggs, dried blood, and organic debris that larvae feed on. By removing their food source, you instantly weaken the colony’s chances of survival.
Second, the heat and vibration of the vacuum cleaner tricks the dormant pupae into hatching. They think a host is walking past. Once they hatch, they are immediately exposed to our chemical spray, drastically speeding up the eradication process.
Once you finish vacuuming, immediately empty the canister or throw the vacuum bag into an outside wheelie bin. If you leave it inside, the insects will just crawl back out.
Step 5: Mow the Lawns and Tidy the Exterior
While the focus is usually indoors, pets spend a lot of time outside. Mow the lawns short and clear away any piles of leaves or garden debris.
Short grass allows the sun to reach the soil, drying it out. Flea larvae need moisture and shade to survive, so a tidy, sunlit garden is a naturally hostile environment for them.
What to Expect During and After the Treatment
When our certified technician arrives, they will apply a targeted residual spray containing an adulticide (to kill biting adults) and an Insect Growth Regulator (IGR). The IGR acts like birth control for pests, stopping larvae from maturing into adults.
For safety reasons, you, your family, and your pets must leave the property during the treatment. You will need to stay away until the spray is completely dry.
You must vacate the home for a minimum of 4 hours. This allows the water-based treatment to dry completely, ensuring it is 100% safe for humans and pets to walk on.
Crucial Post-Treatment Rules
Once you return to the property, the job is not entirely finished. The residual chemicals need time to work their magic. It is highly common to still see a few jumping pests for up to 7 to 14 days after the treatment.
This happens because the waterproof pupae continue to hatch. However, as soon as they emerge and touch the treated carpet, they will die. Do not panic if you see a few stragglers.
Most importantly, do not vacuum or mop the floors for at least 7 to 10 days. If you clean the floors immediately, you will wash away the protective chemical barrier we just applied.

Average Cost of End of Tenancy Flea Treatments in Auckland (2025 Guide)
We believe in honest, upfront pricing with no hidden fees. The cost of your treatment will depend entirely on the size of your rental property. Larger homes require more time and a higher volume of certified products.
Below is a general guide to what you can expect to pay for a professional, certified treatment in Auckland this year.
| Property Size | Estimated Cost (Excl. GST) | Includes Certificate? |
|---|---|---|
| 1 to 2 Bedroom Unit | $180 – $220 | Yes |
| 3 Bedroom Standard House | $230 – $260 | Yes |
| 4 to 5+ Bedroom Large Home | $280 – $350+ | Yes |
To speed up your bond refund, let us know your property manager’s email address. We can email the compliance certificate directly to them as soon as the job is done.
Why DIY Flea Bombs Will Cost You Your Bond
It can be tempting to buy a $15 bug bomb from the supermarket to save money. However, this is a massive risk when your bond is on the line. Property managers are well aware of this trick and will reject it.
DIY bombs only disperse a light mist into the air that settles on the top layer of the carpet. They do not penetrate deep enough to kill the larvae, and they lack the Insect Growth Regulators needed to break the cycle.
Furthermore, aerosol bombs leave a sticky, toxic residue on your benchtops, windows, and walls. You will spend hours wiping down surfaces just to clean up the mess. Professional treatments are targeted precisely where the insects live—on the floors and skirting boards—leaving your walls and counters completely untouched.
A supermarket receipt is not a valid compliance certificate. If you use a DIY bomb, the property manager will still hire a professional and deduct the cost from your bond. It is always cheaper and less stressful to do it right the first time.
By following our advice on how to prepare your rental property for an end of lease flea treatment, you ensure a smooth, stress-free move out. Let us handle the pest control in Auckland so you can focus on settling into your new home.

